Tips and tricks for tide pool macro photography from a professional photographer living on the Oregon Coast.
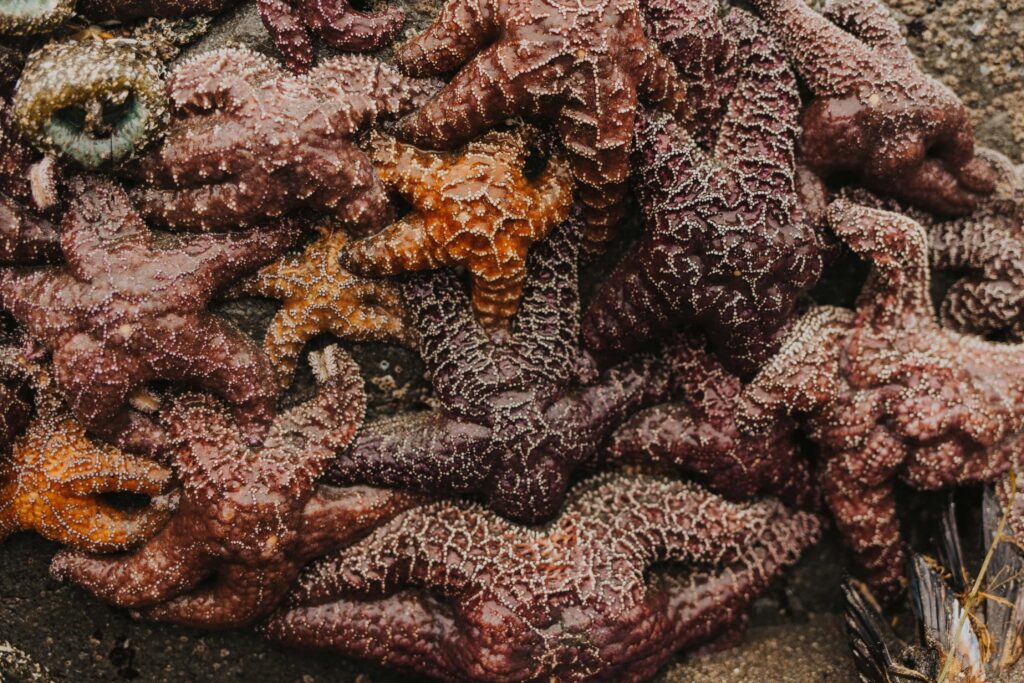
The intertidal zone is packed with wildly unique critters that are so very fun to photograph…they’re also very, very small. Your eye will catch all those details and colors on these stunning invertebrates. Then you pull out your camera or phone and the photos you capture just doesn’t quite do it justice.
Never fear, your equipment just isn’t set up to capture the critters in the brilliance your eyes do. With a few tricks, you can document all your finds in all their glory.
I’m Miki and I’m a full-time professional photographer living on the Oregon Coast! While elopement and wedding photography pays my bills (exploring this website will show you my other work), I’m also a hobbyist tide pool and wildlife photographer. Even though my work equipment is quite pricey, I’m a big fan of more budget options for hobby equipment. Especially since we’re taking this gear on adventures and not keeping it cushioned and protected in a photo studio.
This blog is going to cover everything from phone photography, mirrorless/DLSR photography, and point and shoot camera options. Regardless of the equipment you have, there’s a way to up your tide pool photography game.
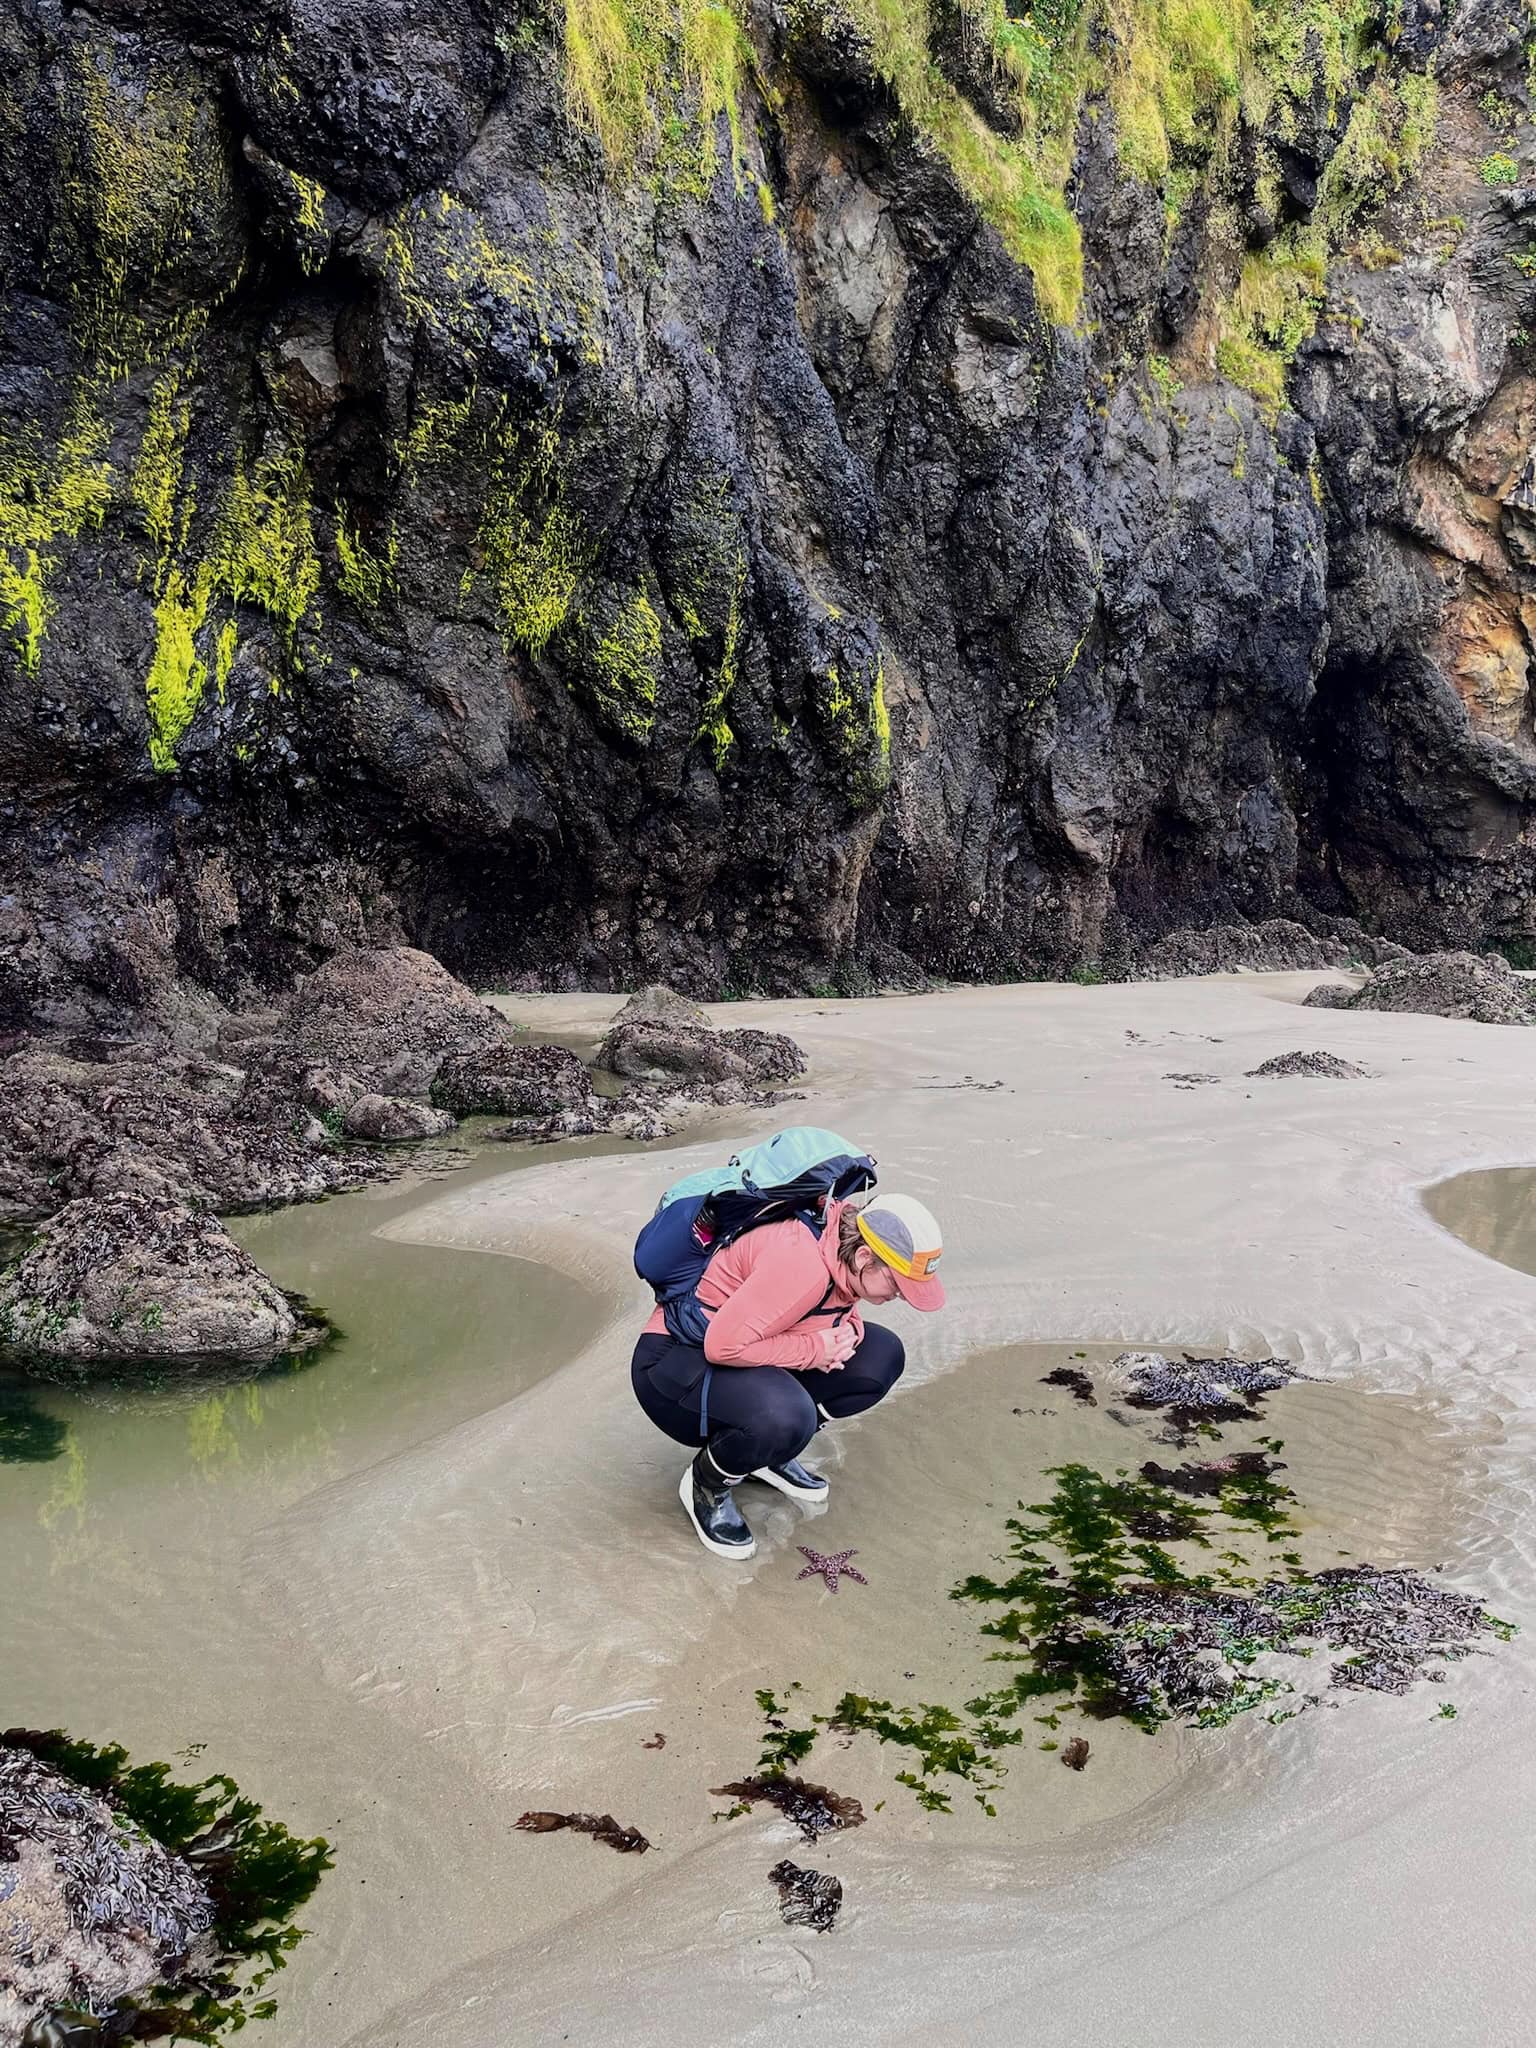
Make sure to practice LNT while photographing and exploring. Leave critters where they’re at, don’t touch, avoid walking on top of rocks with intertidal communities living on them, and never sacrifice the good of the ecosystem for a pretty photo.
Your photo will NEVER be worth leaving damage behind.
Tide Pool Photography with Your Cell Phone
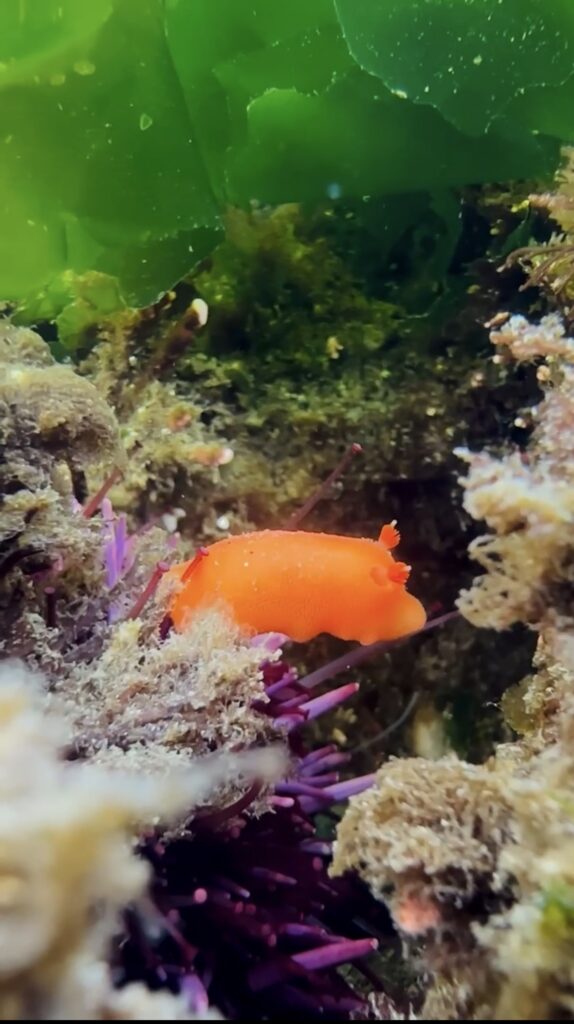
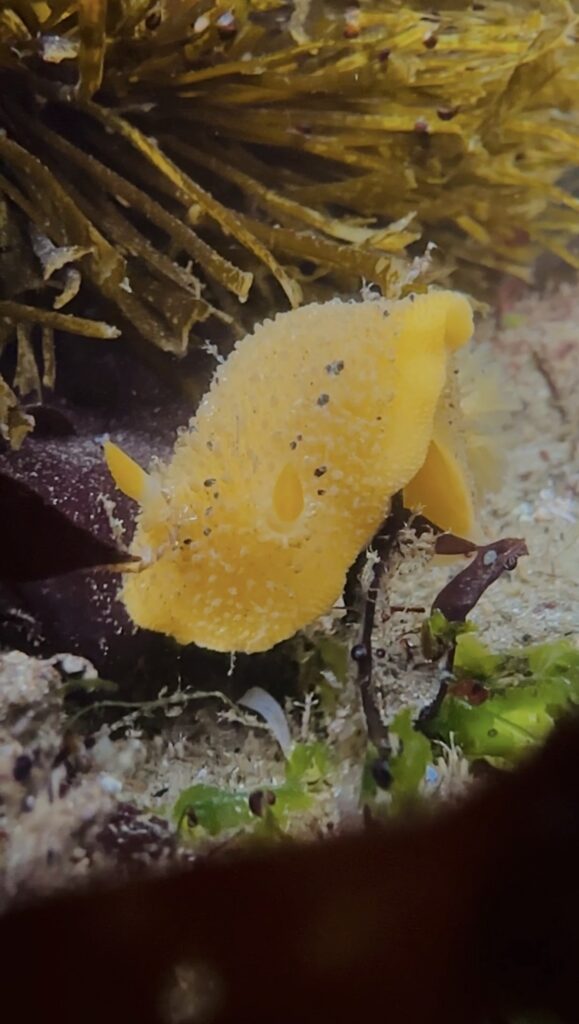
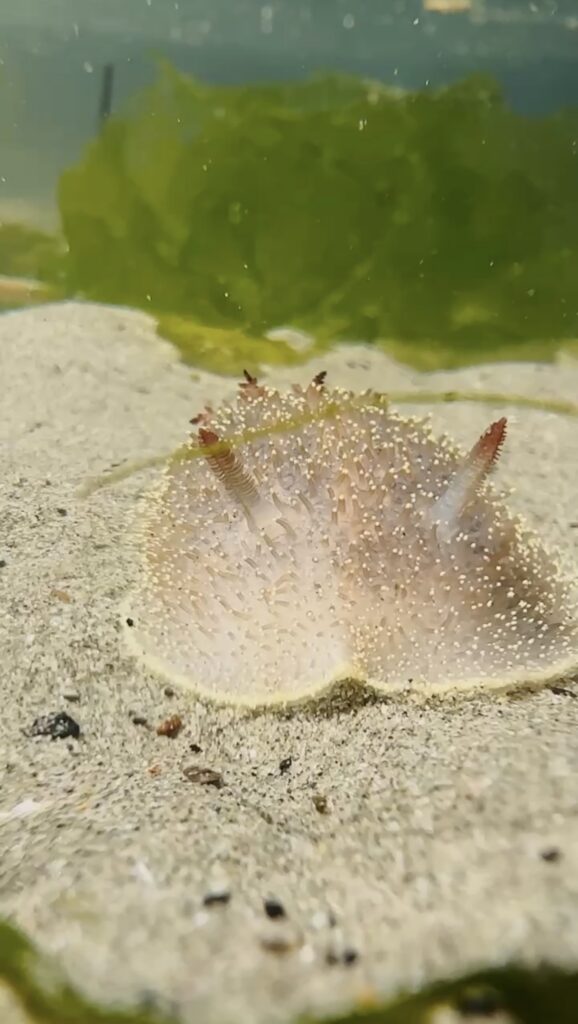
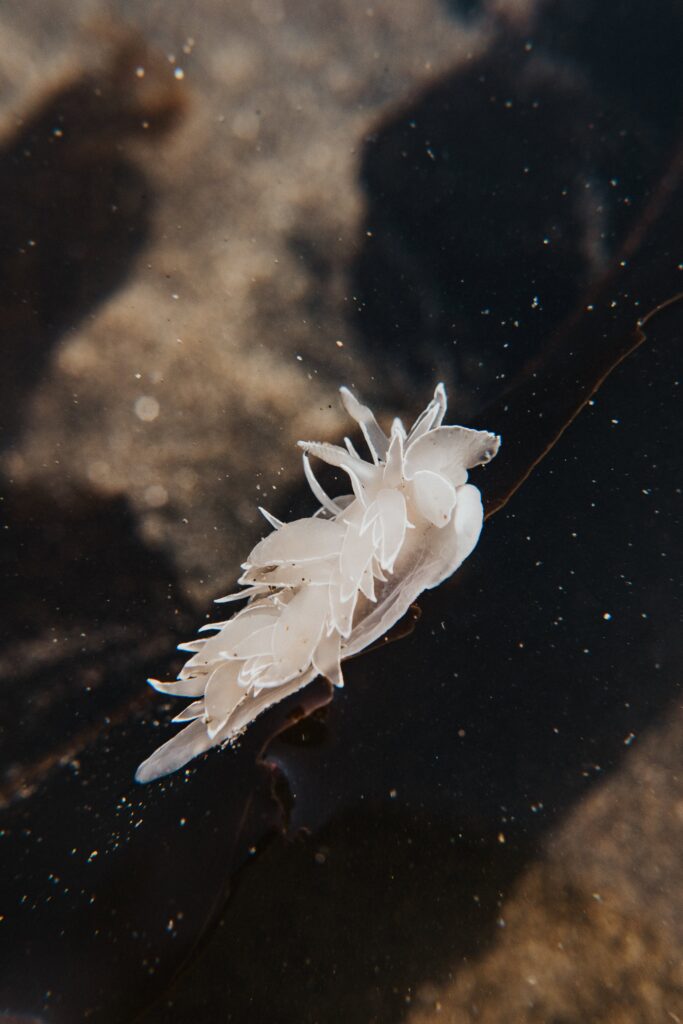
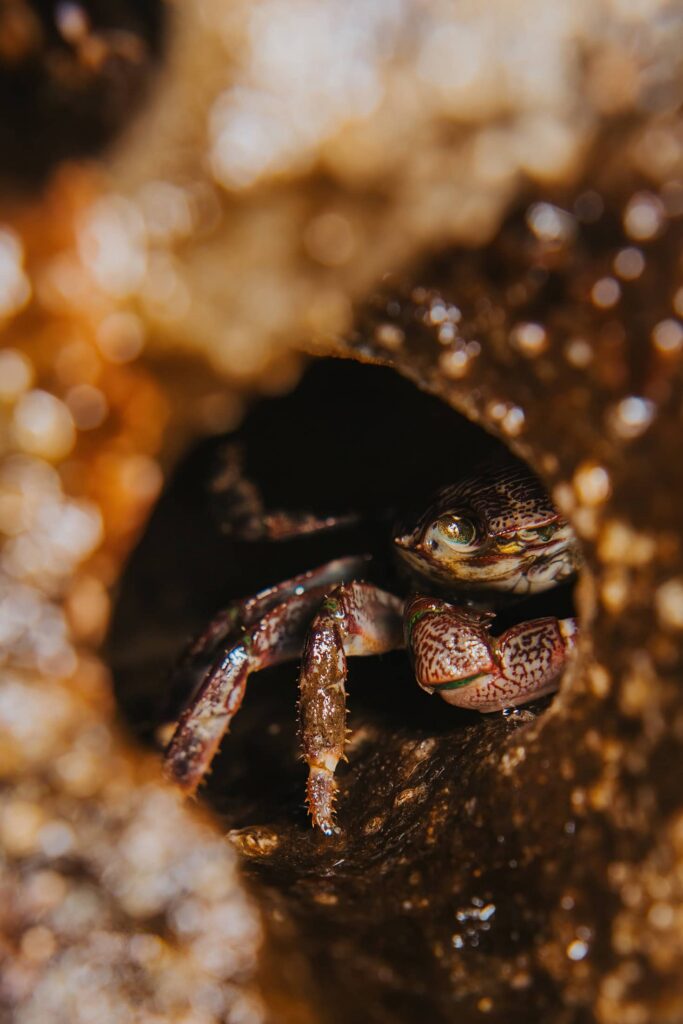
The true camera pros know that the user will always make a greater difference than the camera itself so don’t let anyone tell you that you can’t capture epic tide pool photos with your phone (the three photos above are screen grabs from videos taken on my cell phone). More advanced cameras have their benefits and you may wish to explore those in the future but you can capture great footage for yourself and sharing by using all the tools your phone camera offers.
- Find an editing app you’re comfortable with and enhance your photos after. My personal favorite is the Lightroom app which is free to download on iOS and Android. This is the mobile optimized version of the more advanced computer program (this version is paid) which is great if you plan on advancing to more extensive editing.
- If learning a new app sounds overwhelming, try using the editing software built into your phone gallery. Even small adjustments can make a big difference! For example, many phones auto expose photos too bright or dark. This is easy to adjust in your phone. I’ve also found iPhones to have dull colors in comparison to what I’m seeing. Moving the saturation up a bit helps it reflect what we’re seeing in real life.
- Learning to edit photos is a journey. Know that it will take time to get the levers and buttons to reflect the final product you want. Just keep experimenting and you’ll get there!
- Utilize the flash. Phone cameras aren’t great in low light but you have a light right there to fix the problem. You’re unlikely need your flash for the sea star on the rock but this will help a lot for the nudibranch hiding under an overhang. You often need to turn on the flash manually as your phone avoids turning it on as often as it can.
- For my iPhone, I find it automatically overexposes the image with the flash. To combat this, I move my exposure compensation lever to -2.0.
- Look into underwater phone housings. This has been a recent addition for my tide pool photography. I got one of those underwater phone pouches with a waterproof backpack purchase and have been pleasantly surprised as the difference it makes.
- Do not put your “waterproof” cell phone in salt water. Many phones are water resistant and not waterproof. Even if they are truly waterproof, salt water is corrosive and ruins phones. That water resistance will serve you well though if your casing gets a small leak before you notice.
- Make sure to be very careful taking underwater videos. It’s a lot easier to accidentally smoosh critters since you can’t see as much. Exercise extra caution to take care of our favorite invertebrates.
- Take videos as well as photos. This is probably the greatest super power of cell phone photography. Bigger/nicer cameras make giant files when they record video and they’re more difficult to edit later. Cell phones capture high quality videos without being cumbersome to use later. Videos will capture far more about the critter and how it behaves.
Tide Pool Photo Tips for DSLR and Mirrorless Cameras
Did you know you can turn any DSLR/mirrorless camera you currently have into a macro setup for less than $150? You may be overwhelmed by the cost of macro lenses and underwater housing or you’re trying to make your current, standard setup work. While a standard lens setup works great for sea stars and anemones, it starts to fall apart when you start working with our nudibranch friends.
The secret to great macro photos on a budget? Macro lens filters.
You can find these lens filters in many different places in many different sizes. They turn any lens you currently own into a macro lens. I’ve personally been using a 35mm lens which has worked well with some of the close quarter situations I get into in the intertidal zone. Many macro lenses are a longer focal length but I’ve had issues with focusing distance using the same filters on my 85mm lens.
Like any gear upgrade, a true macro lens will have its perks. As a very picky, makes a living with my photos gal, I can tell you these filters are amazing. The images are sharp, the details are clear, and they do exactly what I need, budget option or no.
Some advice using your filters:
- You’re going to want to use narrower/higher number apertures with these. That close up effect can make it so only a sliver of your subject is sharp and the rest is lost to bokeh. I like to move between f4-7.1 depending on my subject.
- You may need to use manual focus on occasion. This has more to do with the camera than the filters themselves. Mirrorless cameras nowadays are very good at finding human faces and eyes but haven’t quite figured out what the heck a nudibranch is and where it should focus. Missed focus will be much easier to see in a macro photography image.

Your next consideration is lighting your images. Most of the cool critters will be hiding in rock crevices and other dark places. With wildlife photography, you get whatever lighting situation the decide to give you. You won’t need extra light for all images but it’s nice to have when you find a fun invertebrate in poor lighting.
Your best bet for flashes is any ring flash that is compatible with your camera. Think about the shape of your usual hot shoe flash. Given how small our critters are, the light will be nowhere near your subject. Using a ring light allows you to surround your subject in light. The shape also makes it easier to get closer to your subject.
Flashes can also help cut through surface glare when angled correctly. It’s not a perfect solution but it does increase the number of scenarios you can capture clear, sharp images in.
Lastly, I highly recommend looking into sharpening software. I personally use Topaz programs for this. I use this most often for other wildlife photography, like birds or whales, but also find it useful for tide pool photos. Photographing wildlife means dealing with whatever scenario they give you for however short of time they feel like hanging around. It’s also helpful if you need to crop down an image farther than you usually like to.
Even if an image is mostly sharp, I find it takes images from “nice” to “is this Nat Geo?!”
Underwater Cameras for Tide Pool Photography
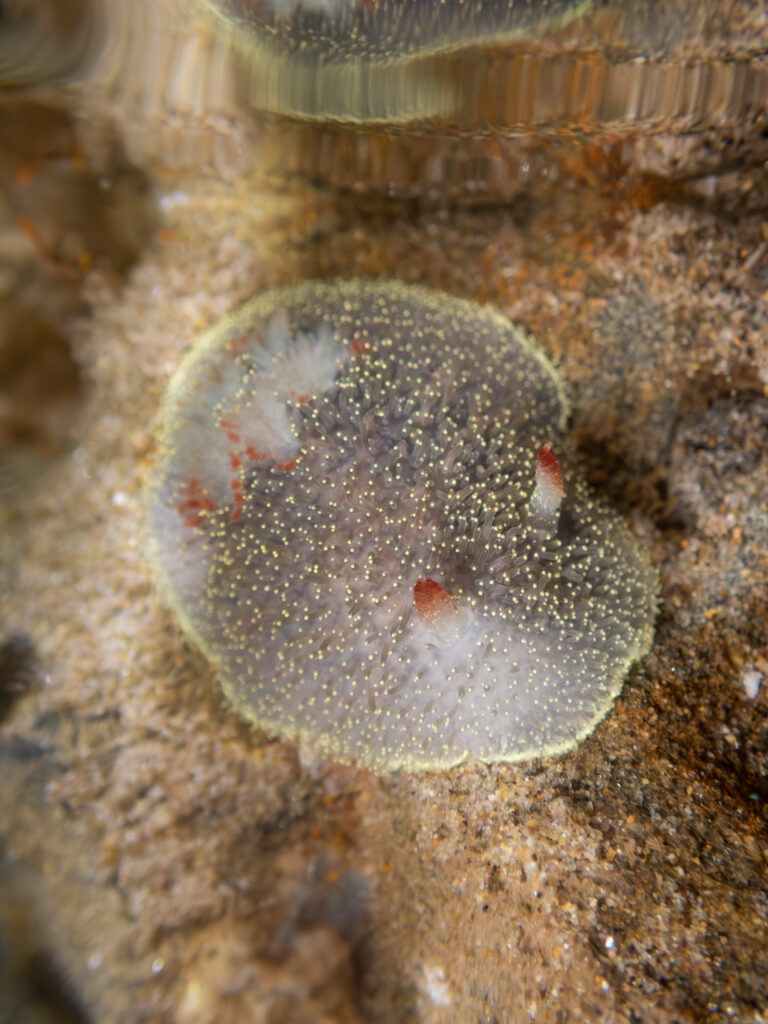
This is my most recent upgrade: the purchase of a Olympus TG-7 underwater camera. The two images above are some of a handful of images I got to capture during winter night lows before the long wait for spring tides to come back around. I spent years watching people post the most stunning images from this little camera. It seems to have the very specific niche of underwater photography but doesn’t seem to stack up as well out of water (based on reviews more than personal experience).
I also added a ring flash diffuser for this camera. It takes the flash your camera is already producing and bounces it around the white ring. Whenever you get very close to wildlife, you’re going to find that a ring of light around the lens is going to be much more helpful than a directional light from the top of your camera.
Another reminder that this is a camera snobbery free zone so have fun with whatever underwater camera looks good to you. I bet that GoPro you have sitting on a shelf would do great things too.
Hi y’all! This is Miki and I hope you found this resource helpful. I’m an elopement and wedding photographer living on the Oregon Coast and a former high school science teacher. I also run a page called the Oregon Coast Gremlin where I talk all things Oregon Coast and Pacific Northwest life. I love taking cool photos and seeing all the cool stuff nature has to offer.
Here’s some other links and resources you may enjoy:
